Here is the short version: set both bindings at the board’s reference stance, put your front foot between +12° and +18° and your back foot between -3° and -12°, then tighten the screws until snug — firm, not forced. That gets most riders to a setup they never think about again. What’s left is refinement: stance width against your body, angles against your knees, and the binding centred on the board so your boots stop dragging.
Binding setup is the cheapest performance upgrade in snowboarding. It costs nothing, takes twenty minutes with a screwdriver, and it changes how the board turns more than most riders realise — a badly set stance makes a good board feel vague, and a well-set stance makes an ordinary board feel sharp. This guide walks through the five adjustments in the order that matters, plus the symptoms that tell you which number to change when something feels wrong.
Why binding setup decides how the board rides
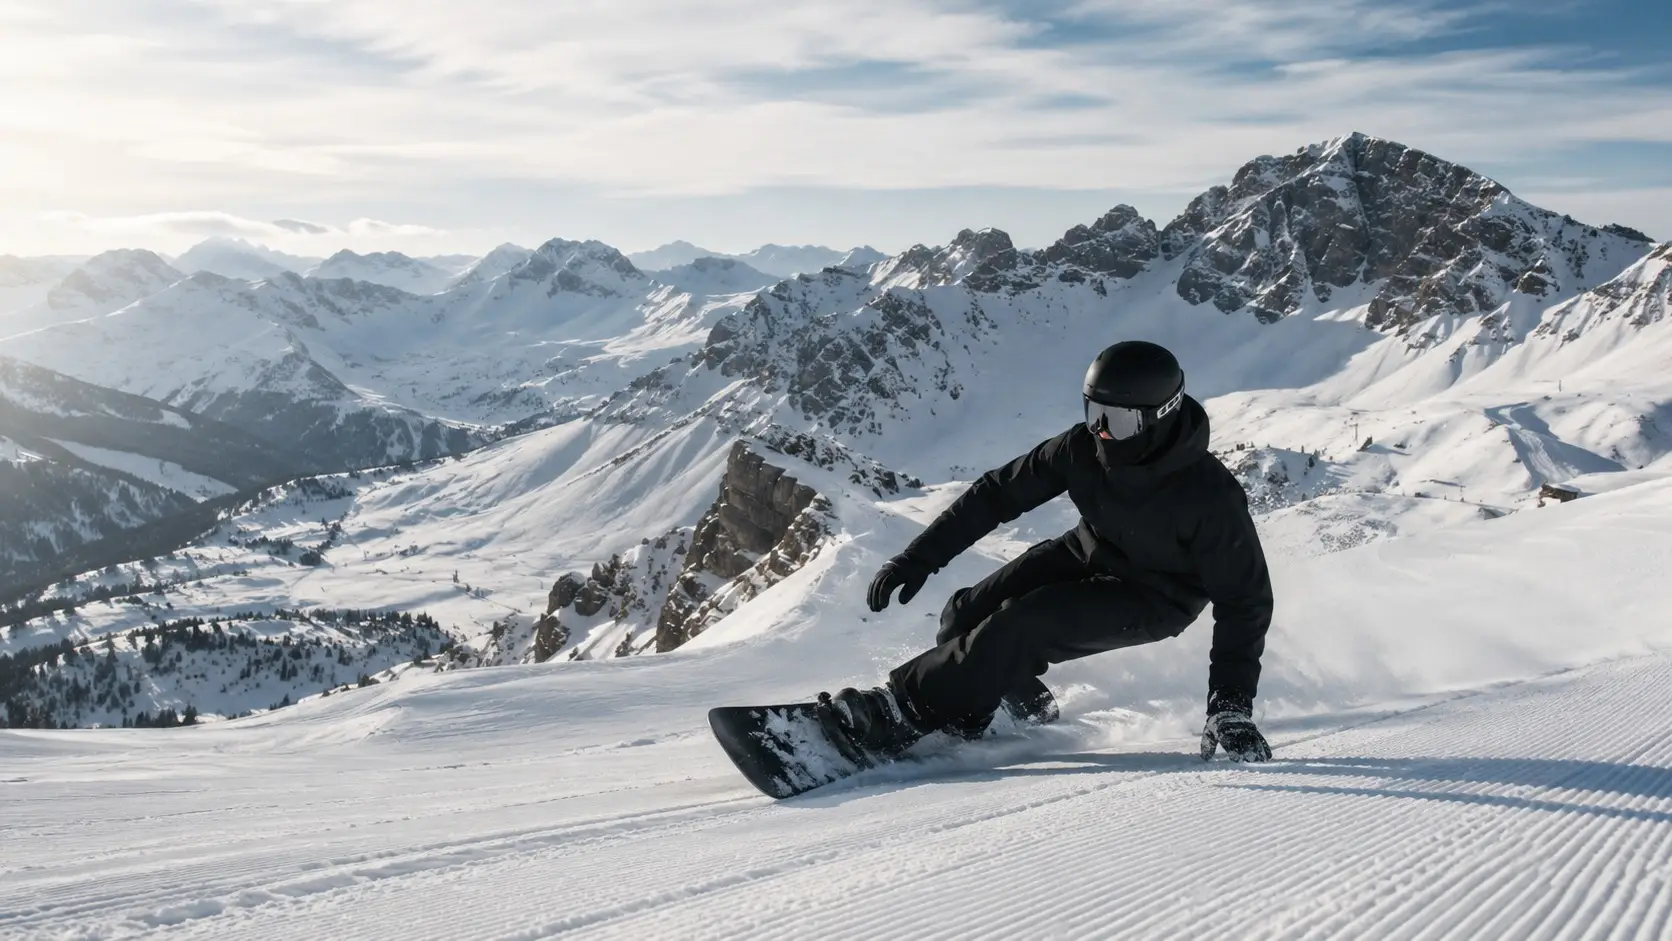
Your boots touch the board in exactly four places. Every turn, every edge change, every landing passes through those four contact points, so the geometry you build there is the geometry you ride. Three numbers control almost all of it:
- Stance width — the distance between the centres of your two bindings. Too narrow and your hips fight the turn; too wide and the board feels slow edge to edge.
- Binding angles — how far each foot is rotated relative to the board’s centreline. This is where knee pain comes from, and where switch riding lives or dies.
- Centring — whether heel and toe overhang the same amount on both edges. Get this wrong and you lose edge angle at exactly the moment you need it.
Everything else — highback rotation, forward lean, strap position — is comfort and response on top of those three. Nail the geometry first.
Step 1 — Set your stance width
Measure between the centres of the two bindings, not the outside edges. The old advice is to stand with your feet shoulder width apart and copy that, and it’s still the best starting point: stand relaxed, measure from the bony point of one shoulder to the other, and use that number as your baseline stance width.
From there, adjust by riding style. A narrower stance turns quicker and suits park riding and smaller riders; a wider stance is more stable at speed and suits freeride and carving. Two centimetres in either direction is a meaningful change — move in small steps.
| Rider height | Starting stance width (centre to centre) | Park / freestyle | Freeride / carving |
|---|---|---|---|
| Under 160 cm (5’3″) | 46–49 cm | 44–47 cm | 48–51 cm |
| 160–170 cm (5’3″–5’7″) | 48–51 cm | 46–49 cm | 50–53 cm |
| 170–180 cm (5’7″–5’11”) | 50–53 cm | 48–51 cm | 52–55 cm |
| 180–190 cm (5’11″–6’3″) | 52–56 cm | 50–53 cm | 54–58 cm |
| Over 190 cm (6’3″+) | 54–58 cm | 52–55 cm | 56–60 cm |
Every board also has a reference stance — a marked set of inserts at the width the designer intended. Most twin boards centre it between the inserts so the same stance works regular or switch. Start at the reference, then move both bindings outward (or inward) by the same amount. If you move one binding and not the other, you’ve changed where you stand on the board’s sidecut, and the board will turn differently in one direction than the other.
Step 2 — Choose your binding angles
Angles are measured from the board’s centreline. A positive number rotates the foot toward the nose (toes pointing forward); a negative number rotates it toward the tail. Duck stance means both feet are angled outward — front positive, back negative — which is what lets you ride switch without changing anything. A directional stance keeps the back foot close to zero or slightly positive, which squares your hips to the nose and gives more drive into a carve.
| Riding style | Front foot | Back foot | Why |
|---|---|---|---|
| Park and freestyle | +12° to +15° | -9° to -15° | Mirrored angles for switch, knees open, easy rotation |
| All-mountain | +15° | -6° to -9° | The default compromise: switch capable, still drives an edge |
| Freeride and carving | +18° to +24° | +3° to -3° | Squares the hips to the nose, more leverage over the edge |
| Powder | +18° to +21° | 0° to +6° | Hips face forward, easier to keep the nose up and stay centred |
Beginners should start near +15° / -6°: it’s forgiving on the knees, works in both directions, and doesn’t lock you into a style you haven’t chosen yet. If your front knee aches on the outside after a day, your back foot is probably too aggressively negative — bring it toward zero in 3° steps. If your hips feel twisted and your lower back complains, your angles are too directional for your body.
Step 3 — Mount the bindings
- Confirm which foot is forward. Regular is left foot forward, goofy is right foot forward. If you don’t know, slide across a smooth floor in socks and see which foot you lead with, or have someone give you a gentle shove from behind — the foot that steps out to catch you is usually your front foot.
- Set the disc to your angle. Most binding discs rotate in 15° increments with marks at 0°, 15° and 30°; three-hole and channel discs use their own scale. Rotate the disc, not the whole binding, so the baseplate stays centred on the board.
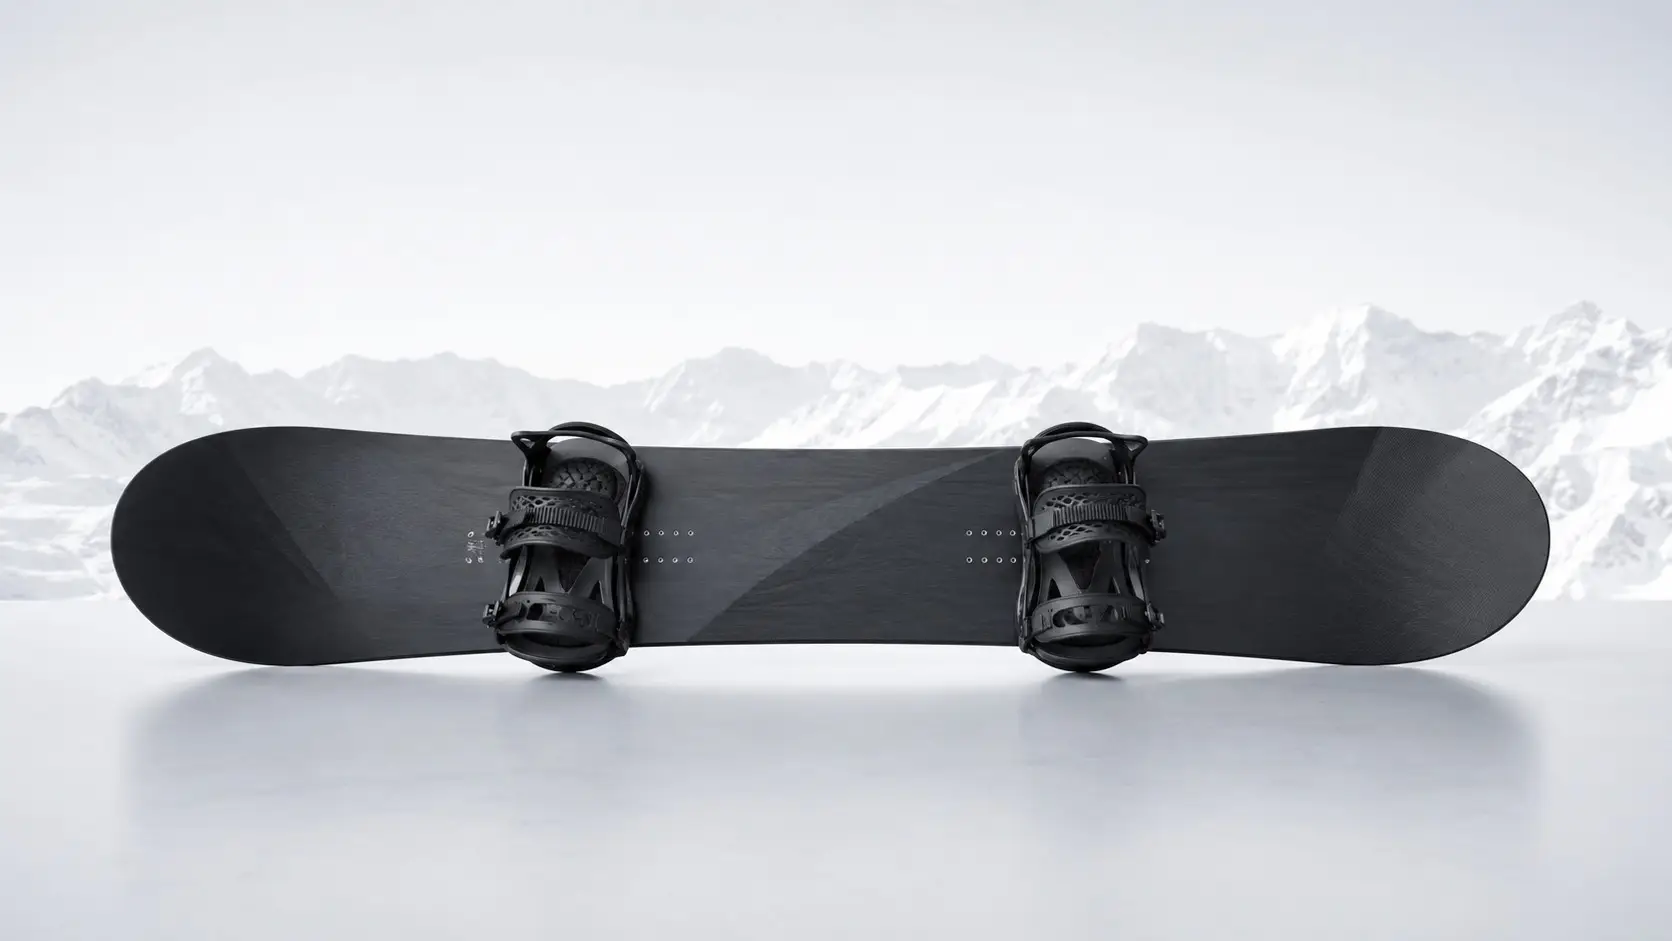
- Centre the binding across the board. With your boot in the binding, the heel and toe should overhang the edges by the same amount. Slide the baseplate or move the heelcup until they do.
- Start all four screws by hand. Cross-threaded inserts are painful to fix. Once all four are seated, tighten in a cross pattern until snug — roughly 5 Nm. Firm with a screwdriver, never forced with a tool that gives you extra leverage.
- Set the width. Move both bindings equally outward from the reference stance, using the insert packs as your ruler. Count the same number of empty holes in front of and behind each binding.
- Rotate the highbacks. The highback’s outer edge should sit roughly parallel to your board’s heel edge, so pressure lands on the calf plate instead of one corner of your calf. Loosen the two highback screws, rotate, retighten.
- Set forward lean. A couple of clicks forward is enough for all-mountain — it keeps you from sitting back. Carvers run more. Park riders often run almost none so they can stand tall and press.
- Fit the straps. The ankle strap should sit centred over the instep, the toe strap over the front of the boot (not across the top of the foot), and there should be no gap between boot sole and baseplate.
- Check for interference. Strap in both boots and look down: the boots should not touch each other, and neither should overhang the board enough to drag in a hard turn.
Step 4 — Centre the boots, then check the overhang
Centring is the adjustment riders skip and then blame on the board. If the binding sits a centimetre toward the heel edge, your toe has a centimetre less leverage on the toe edge and you’ll feel the board wash out in hard turns. Measure it: with the boot strapped in, the gap from boot edge to board edge should be equal on both sides, and roughly 1–2 cm per side for most riders.
If you can’t get the overhang under about 2 cm no matter how you centre the binding, the board is too narrow for your boots — not a setup problem. A wide or mid-wide deck fixes it properly. Our wide snowboard guide covers the boot-size test and the waist-width numbers that go with it.
Step 5 — Setback, for powder and freeride boards
Twin boards want a centred stance. Directional and powder shapes often run a setback — the bindings sit 2–5 cm behind the board’s centre — so the nose carries more surface area and the tail sinks. If your board has a setback reference, use it; if it’s a twin, leave it centred. On a tapered swallowtail the difference is dramatic: the same rider on the same board floats noticeably better with the reference setback than with a centred freeride stance.
If deep snow is the goal, pair the setback with the technique in our powder riding guide — stance gets you the platform, weighting gets you the float.
What the symptoms tell you to change
| What you feel | Likely cause | Fix |
|---|---|---|
| Pain on the outside of the front knee | Back foot too aggressively negative | Bring the back angle toward 0° in 3° steps |
| Twisted hips, tired lower back | Stance too narrow, or angles mismatched to your body | Widen 1–2 cm, soften the angle difference |
| Heel or toe drag in hard turns | Bindings not centred, or board too narrow | Recentre; if it persists, move to a wider board |
| Board feels twitchy and nervous | Stance too wide | Narrow 1–2 cm |
| Board feels sluggish edge to edge | Stance too narrow, or back foot too directional | Widen 1–2 cm, open the back foot |
| Boots clip each other | Stance too narrow | Widen until they clear |
| Toe edge washes out under pressure | Toe overhang exceeds heel overhang | Shift the binding toward the toe edge and re-centre |
When to re-check your setup
- New boots. Sole length and shell shape change the overhang — re-centre every binding.
- New board. Different reference stance and sidecut; start from the board’s reference and adjust from there.
- After the first day of the season. Screws settle. Re-torque in a cross pattern before your second session, and check them again after any hard impact.
- After an injury. Knees and ankles that have healed a little differently usually want a less aggressive angle for a while.
- After changing riding style. Moving from all-mountain to park, or from park to carving, is a stance change as much as a technique change.
The boards that make setup easy
A centred twin with a wide size run takes the guesswork out of the geometry: the reference stance is centred, both directions ride the same, and the insert pack gives you room to move. The ASPECT 26A04 All-Mountain Twin — $339.99 comes in 13 lengths from 80 to 165W with a medium 4–5 flex, so the same setup logic works whether you’re 45 kg or 95 kg. Bigger riders who want more board underfoot should look at the 24A05 (140–165W), and smaller riders at the 26A03 (115W–155W).
Pair your board with the ASPECT size guide, and if you’re still choosing bindings themselves, start with our bindings buying guide. Every ASPECT board carries a 2-year warranty and a 30-day ride guarantee, with free shipping over $150.
Frequently Asked Questions
What is the best stance width for snowboarding?
Start at shoulder width, measured centre to centre between the bindings. Most adults land between 48 and 56 cm. Park riders usually go 2 cm narrower for quicker rotation; freeride and carving riders go 2 cm wider for stability at speed.
What binding angles should a beginner use?
+15° on the front foot and -6° on the back is a reliable starting point — slightly duck, still directional enough to drive an edge. If that feels twisted, try +12° / -9°; if it feels open, try +18° / -3°.
Should I ride duck or directional?
Ride duck if you spend time switch, ride park, or want one setup that works both ways. Ride directional if you mostly carve, ride powder, or ride steeps and want your hips squared to the nose. Most all-mountain riders settle somewhere in between: +15° / -6°.
How tight should binding screws be?
Snug — roughly 5 Nm, which is firm with a normal screwdriver and no more. Tighten in a cross pattern, check them after your first day, and re-check after any hard impact. Overtightening crushes the baseplate and can strip the inserts.
Can I change stance width myself?
Yes. The insert packs are designed for it — move both bindings the same distance and keep them symmetric relative to the reference stance. Only a channel system or a board with a very short insert pack limits how far you can go.
Does binding setup matter for switch riding?
It’s the whole game. Mirrored angles (for example +12° / -12°) make switch feel like riding forward. A directional stance is rideable switch, but your back foot will feel like it’s fighting the board.
Set it once, then ride
Twenty minutes with a screwdriver, one measurement against your shoulders, and one honest look at your overhang — that’s the whole job. Set it, ride three days, and only change one number at a time so you can actually feel what changed. If you’re still choosing the board underneath the bindings, start with the complete buying guide and confirm your length with the size guide.
Discover more from ASPECT Snowboards
Subscribe to get the latest posts sent to your email.