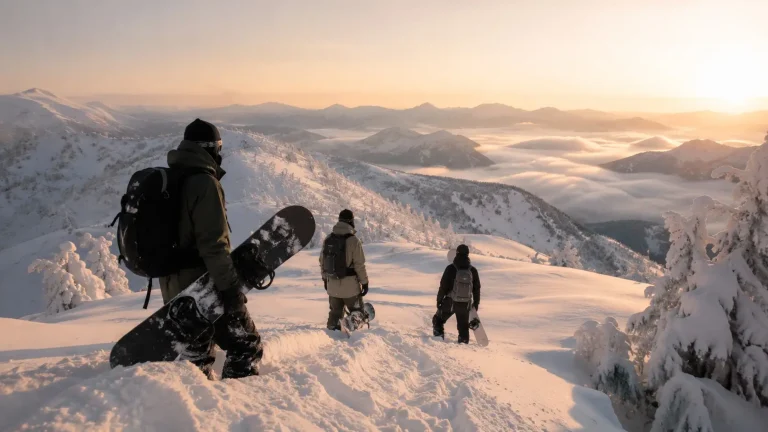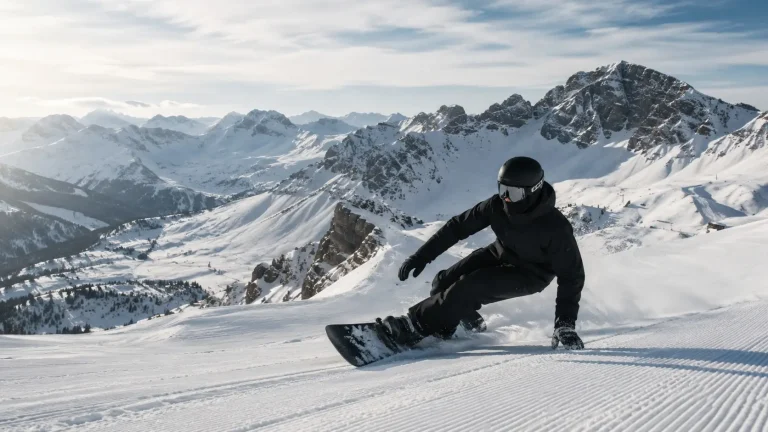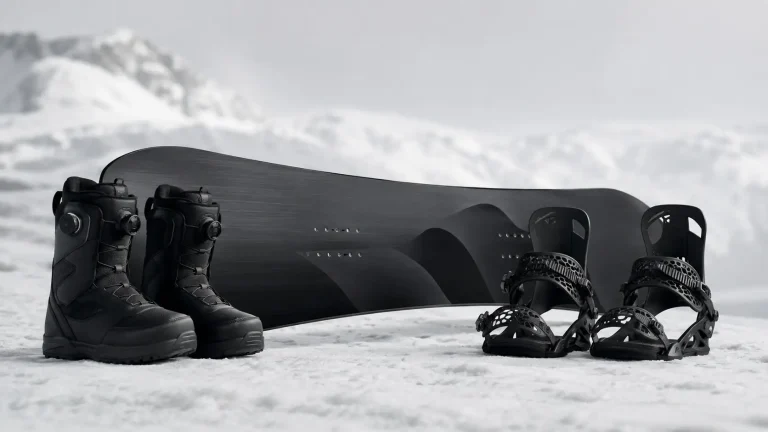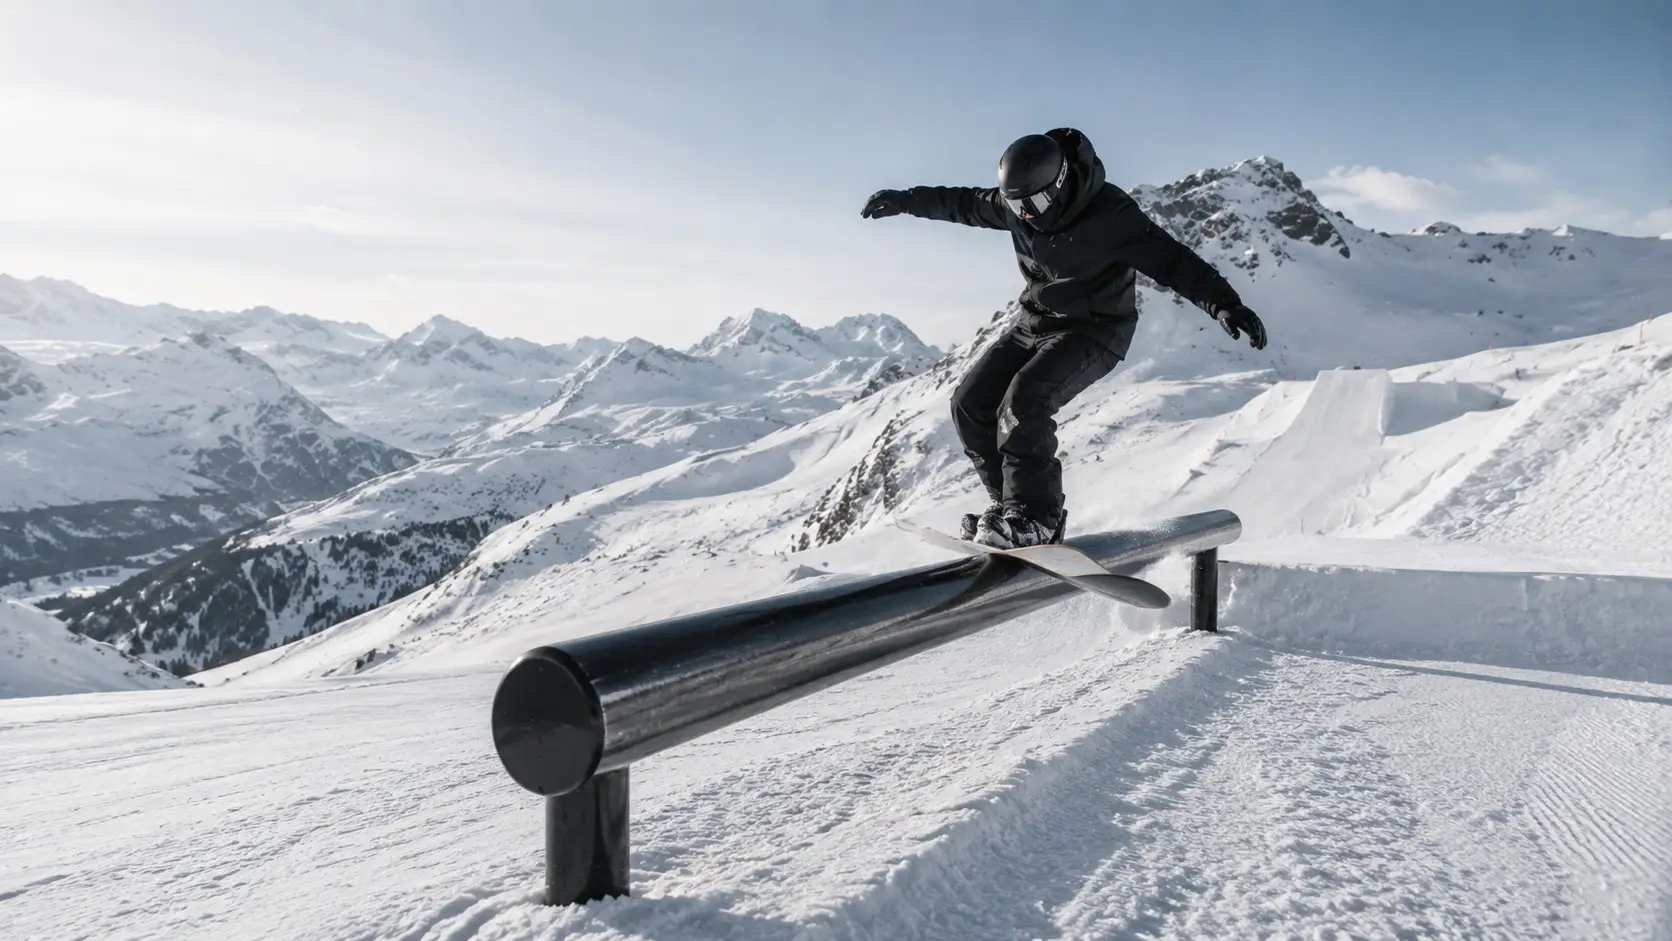
The whole trick, in one sentence: ride flat-based at a comfortable speed, bend your knees and push down through the tail to load it, jump off your back foot while pulling both knees up, and level the board underneath you before you land. The pop doesn’t come from your legs alone — it comes from the board’s tail springing back after you’ve compressed it. Learn that standing still first, then rolling, then over a line, then off a roller.
The ollie is the first trick that makes snowboarding feel like it has an extra dimension. It turns every roller, side hit and small feature into something you can use, and it’s the foundation for jumps, boxes and almost everything in the park. It’s also taught badly — most riders try it at speed before they can do it standing, so they never feel the load that makes the board pop.
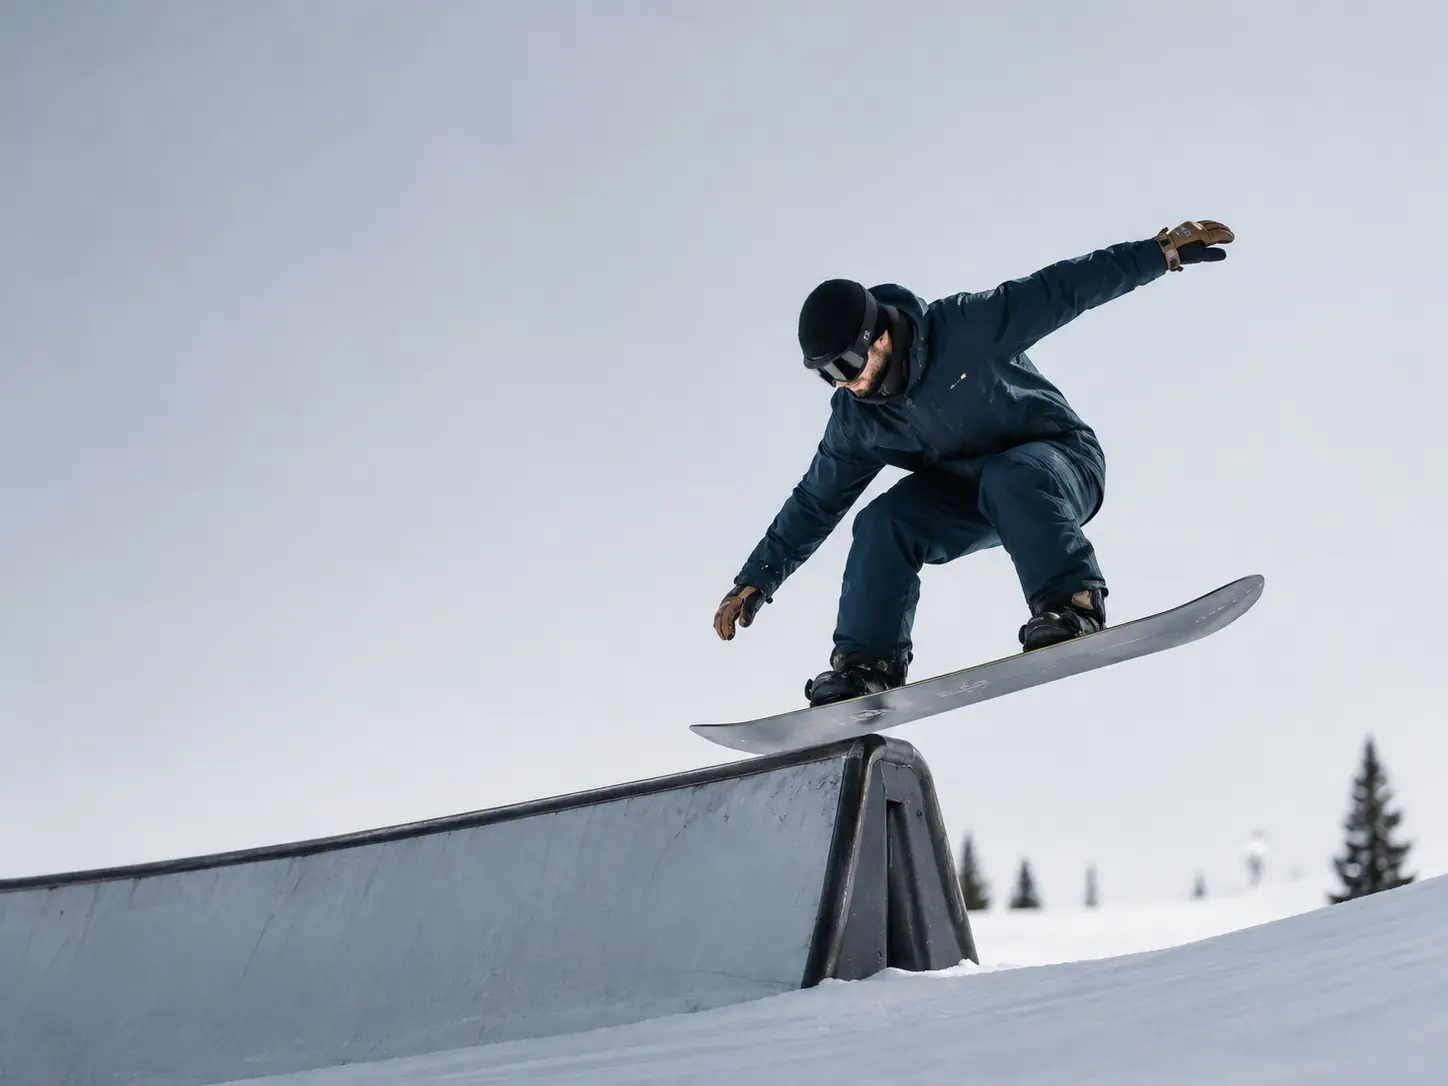
What an ollie actually is
An ollie is a loaded jump off the tail. Three things happen in sequence, and they overlap more than they look:
- Load. You shift weight back over the tail and compress the board, bending it against the snow. That stores energy in the board’s flex and camber.
- Pop. You extend your back leg and the tail releases, snapping the board upward. Your front foot follows — the board pivots up around the tail.
- Level. In the air you pull both knees up and flatten the board, so it’s parallel to the landing rather than nose-down.
That’s why a stiff board pops differently from a soft one, and why an ollie off a rockered board feels mushier than off a cambered one: the load and release is the whole mechanism. If you just jump with both feet, you get height, but you won’t get the pop that clears a rail or a roller.
Ollie, nollie, and a plain two-foot jump
They look similar and behave differently. An ollie loads the tail and lifts the nose first — the classic. A nollie loads the nose and lifts the tail, which is what you use when you’re riding switch or approaching a feature with the nose first. A two-foot jump pops off both feet without loading either end: useful for absorbing a roller, useless for clearing anything.
Start with the ollie because it teaches the load. Once you have it, the nollie is a mirror image — same mechanics, other end of the board.
Three things to have before you start
- You can ride flat-based. Not on an edge, not skidding — straight and relaxed, with your weight centred. If you can’t, the ollie will turn into a skid every time.
- You can bend your knees without falling forward. The load happens in the ankles, knees and hips, not the lower back.
- Your stance is set up sensibly. A stance that’s too wide or too directional makes the tail load awkward. Our binding setup guide covers width and angles in about twenty minutes.
Step 1 — Pop standing still
Find a flat spot with soft snow. Strap in, stand sideways in your normal stance, and practise the load without moving:
- Bend your knees and sink your hips slightly toward the tail — maybe 60/40 weight on the back foot.
- Push down hard through the back foot until you feel the board bend. On a cambered board you’ll feel the middle lift off the snow slightly.
- Jump: extend the back leg fast while pulling the front knee up toward your chest.
- Tuck both knees up and level the board in the air.
- Land on both feet at once, knees bent, weight centred.
Do it ten times in a row. What you’re looking for is the feeling of the board springing back — not a big jump, just the pop. Most riders get a small hop on the first try and a real ollie on the fourth or fifth.
Step 2 — Ollie while traversing
Now add a slow traverse across a gentle slope. Same movement, but you have to keep the board flat and the speed constant. The common failure here is leaning back to load the tail — your shoulders drop behind the board, the nose lifts, and you land on your heel edge. Instead, keep your shoulders over the middle of the board and let the hips move back while the chest stays low and centred.
Traverse ollies teach timing. Ride ten of them in a row and you’ll start to feel the moment just before the pop when the board is fully loaded.
Step 3 — Ollie over a line in the snow
Draw a line across the slope with your board, or find a groomer seam, and ollie over it at a slow speed. A visible target fixes two problems at once: it gives you something to time the pop against, and it shows you whether you’re actually getting height or just lifting your feet.
Increase speed gradually. At first the line is a target; later it’s a rhythm, and the ollie becomes something you do without thinking about it.
Step 4 — Ollie off a roller or small side hit
A roller is the perfect intermediate step because it gives you airtime even if the ollie is small. Ride up the roller with your knees soft, load the tail as the board starts to leave the snow, and pop just before the lip — not on it. Popping too early means you’re already extending when the snow drops away; popping at the lip means the board’s release adds to the terrain’s launch.
Land with both feet, knees bent, and ride away on a flat base. If you land on an edge, you’ll skid — which is a survival skill, not a landing.
Step 5 — Your first park jump
Take it to a small park jump only when roller ollies feel automatic. The sequence is the same, but speed matters more: enough speed to clear the knuckle, not so much that you overshoot the landing. Watch two or three people hit the jump first — you’ll learn the speed and the takeoff line faster than any description.
- Pop at the lip, with the load already in the tail.
- Stay centred in the air — arms out over the board, eyes on the landing.
- Level the board before touchdown, not after.
- Land with bent knees and absorb; straight legs on a landing is how ankles get hurt.
- Ride away, don’t stop dead in the landing zone.
The five mistakes that keep riders stuck
| Mistake | What it looks like | Fix |
|---|---|---|
| Leaning back instead of loading | Nose rises, you land on the heel edge | Move the hips back, keep the chest over the middle of the board |
| Jumping with straight legs | Small hop, no pop, board stays flat on the snow | Compress first — bend knees deeply, then extend fast |
| Not pulling the knees up | Board stays low, tail catches the feature | Tuck both knees toward your chest at the top of the jump |
| Looking down at the board | Head drops, shoulders follow, landing goes sideways | Eyes on the landing from takeoff to touchdown |
| Too slow, or on ice | Board stalls on the lip or slides out | More speed on soft snow; practise on a groomer, not a ice patch |
Timing: pop at the lip, not before
Almost every beginner pops too early. On a roller or a jump, the snow falls away at the lip — that’s the moment the board can release upward without the snow pushing back. Pop half a second before and you’ve already extended by the time the lip arrives, so the board has nothing to spring from.
A drill that fixes it: ride the roller without popping five times, just absorbing it with your knees. Then add the pop on the sixth. Feeling the timing without the trick makes it obvious where the lip actually is.
Does your board help or hurt?
Flex is the big variable. A medium 4–5 flex loads easily at low speed and still springs back — that’s why it’s the standard for park and all-mountain riding. Very soft boards load easily but don’t return much energy; very stiff boards need real speed and strength to bend, which is why a beginner on a stiff freeride deck feels like the board won’t pop.
Shape matters too. A true twin gives you the same pop and the same landing in both directions, which is why park riders use them. Our ASPECT 26A04 All-Mountain Twin ($339.99) is a 4–5 flex twin across 13 lengths — the same board works for a first ollie and for your first season of park laps. If you want to understand flex before you buy, the flex guide covers the 1–10 scale in detail, and the twin vs directional twin comparison explains why shape changes how a trick feels.
A progression checklist
- Ten standing ollies, feeling the tail load each time.
- Ten traverse ollies, staying centred.
- Ollie over a drawn line ten times, both directions.
- Ollie off a roller, popping at the lip, five clean landings.
- Ollie onto a low box or bank, board level.
- Small park jump with a controlled landing and a ride-away.
- Then start adding grabs, 180s and switch ollies — same load, more rotation.
Staying in one piece
- Helmet and wrist guards for park sessions. Wrists take the hit when a landing goes wrong.
- Practise on soft snow, not hardpack or ice.
- Don’t ollie onto rails first. Ollie over lines and onto boxes before you try to land on metal.
- Stop while you’re ahead. Ollies are a fatigue trick — the last five attempts of a tired session are where ankles get hurt.
Frequently Asked Questions
How long does it take to learn an ollie?
Most riders get a small ollie in one session on flat ground and a consistent one in three to five sessions. Height and timing take longer — a season of regular practice gets most people to a knee-high ollie at speed.
Can you ollie on a rocker board?
Yes, but the feel is different. Rocker boards have less tail tension, so the pop is softer and the board lifts more from your legs than from the release. Camber gives a sharper, higher pop; hybrid profiles sit in between.
Do I need a twin board to ollie?
No — you can ollie on any board. A twin makes switch ollies and nollies easier because the nose and tail are identical, which is why park riders prefer them.
How high can a beginner ollie?
Expect 10–20 cm in the first few sessions and 30 cm or more with practice and speed. Height comes mostly from loading the tail properly and pulling your knees up, not from jumping harder.
Why won’t my board pop?
The usual cause is no load — you’re jumping with both feet instead of compressing the tail first. The second most common cause is speed: too slow and the board stalls instead of releasing. A very soft or very stiff board also changes how much pop you feel.
Ollie or nollie first?
Ollie first. It’s the one you’ll use most, and learning the load off the tail makes the nollie a mirror-image step rather than a new trick.
Load, pop, level, land
Four words, in that order, every time. Practise the load standing still until it’s automatic, then add speed and terrain one step at a time. When you’re ready to take it into the park, our beginner’s park guide covers features, etiquette and progression — and if you’re still choosing a board for it, the size guide will keep you on the right length.
Discover more from ASPECT Snowboards
Subscribe to get the latest posts sent to your email.